Taking Back My Data, Part 1: Move from Dropbox to Nextcloud
This post documents how I moved from Dropbox to self-hosting a “private cloud” using Nextcloud on a Raspberry Pi in my home.
- Update[2016-12-08]: Added sections on automatically banning IP addresses and sending abuse report emails. Added paragraph about generating custom Diffie Hellman parameters.
See all updates and edits to this page.
Objective: Kick Dropbox
Today I achieved step one of my master plan to take back ownership of my data. In this blog post I’ll describe how I switched from using Dropbox to my own “cloud”, physically located inside my home.
Right now, I’ve taken back my files, for example photos, scanned documents, money stuff and business stuff.
Next I want to take back:
- calendar - I’ve got over ten years of calendar stored in Google and it freaks me out
- contacts - Again, Google knows everything.
- email - Much harder, but the holy grail. Worth it? Not sure.
This blog post is both to document how I did it and make it easier for the next person.
The software and hardware setup looks like this:
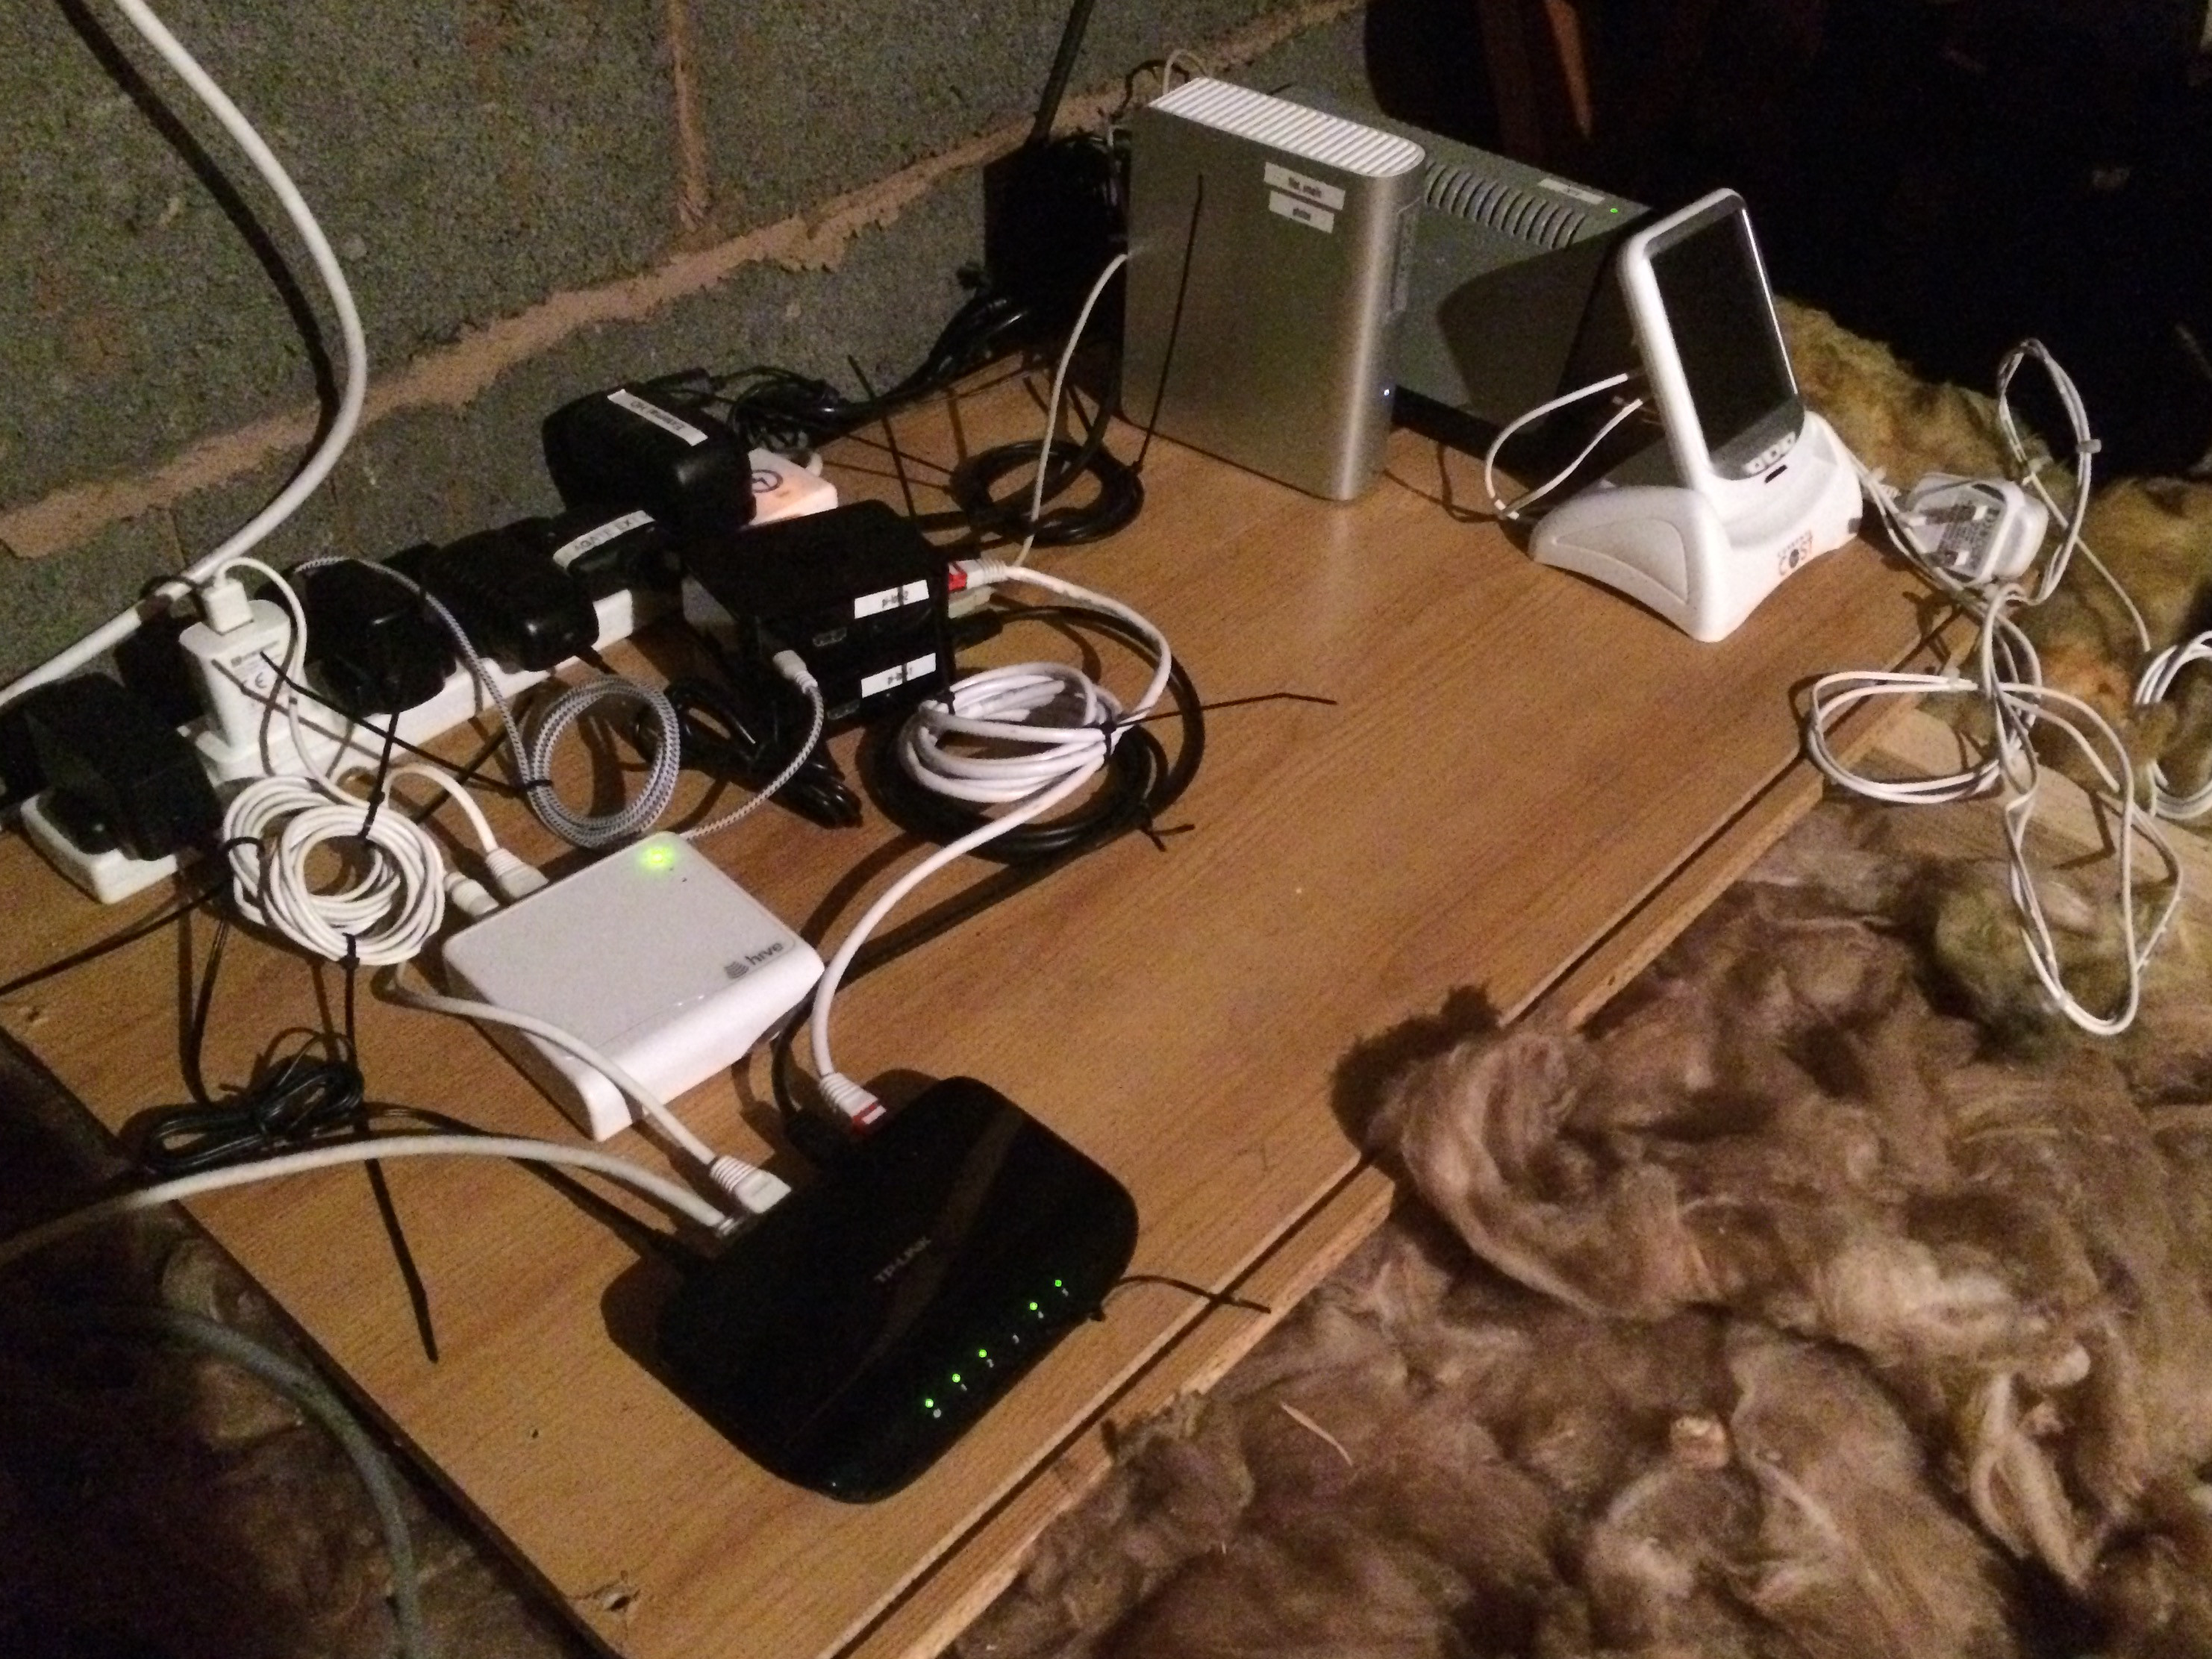
- Raspberry Pi (the 4-core one with 1GB memory)
- Rasbian Lite (based on Debian jessie)
- Nextcloud 10 (a fork of Owncloud)
- Nginx
- PostgreSQL
Install and Harden Raspberry Pi
I downloaded Raspbian Lite 2016-11-25 and transferred it onto an SD card with the dd command.
I connected the Pi to my router, powered it up and found the IP address in the router. I logged in with SSH and started configuring it.
ssh pi@192.168.0.191
First I set the hostname to pi-loft-2 and rebooted.
sudo sed -i 's/raspberrypi/pi-loft-2/g' /etc/hostname /etc/hosts
sudo reboot
Next I downloaded a script I often use called “Ubuntu Trusty First Five Minutes”. This is based on a blog post and it carries out some basic hardening.
wget 'https://github.com/fawkesley/ubuntu-first-five-minutes/archive/master.zip'

unzip master.zip && cd ubuntu-first-five-minutes-master/

# EDIT AND UNDERSTAND BOOTSTAP.SH BEFORE YOU RUN IT

./ubuntu-first-five-minutes-master/bootstrap.sh
Install ZeroTier One
ZeroTier One is a massively useful decentralized VPN service I use for connecting my devices and getting around NAT and so on. I installed that, joined my private network from the command line, then granted access to the device from the ZeroTier One web interface.
curl -s https://install.zerotier.com/ | bash  # this is really bad practice, btw

sudo zerotier-cli join <my network id>
Set up hosts and SSH config
For convenience, I added these lines to my ~/.ssh/config:
# ~/.ssh/config

Host pi-loft-2
    User paulfurley
And to /etc/hosts (note that this is a ZeroTier One “local” address, not a real one):
# /etc/hosts
21.136.137.224  pi-loft-2
With the power of ZeroTier One, I can now do ssh pi-loft-2 from anywhere in the world!
Configure Encrypted External Hard Drive
I use cryptsetup to mount an encrypted drive at /media/externalhd.
sudo apt-get install cryptsetup
Note: I aready had an external hard drive formateed as an encrypted LUKS volume. I’m going to skip over how to create the disk because it’s destructive, and can’t remember the exact commands. If you want an encrypted disk, have a read about the cryptsetup luksFormat command, then come back here.
I use a mount script to help me remember how to do this. There are two options: you can either store the key as a file on the Raspberry Pi (insecure, but protects against casual theft of the hard drive), or you’ll have to enter it each time the Pi boots.
Configure cloud.paulfurley.com in DNS
I went over to my domain registrar, namecheap.com, and created an A record for cloud.paulfurley.com to point at my (static) home IP address.
Unlike most UK ISPs, Andrews & Arnold give you a static IP address by default. Don’t forget to ask your ISP to set this up for you.
Configure port forwarding on home router
I logged into my home router and allocated a static IP 192.168.0.191 to the new Raspberry Pi.
I configured port forwarding for port 80 and 443 (HTTP and HTTPS) through to that IP address.
Now anyone connecting to http[s]://cloud.paulfurley.com will hit my home router, which will pass them straight through to the Raspberry Pi, pi-loft-2.
Install Nginx
I installed the Nginx 1.6.2 from the normal Debian jessie respository:
sudo apt-get install nginx
and disabled the default configuration:
sudo rm /etc/nginx/sites-enabled/default
Get an SSL/TLS Certificate with Let’s Encrypt
I needed a TLS certificate for cloud.paulfurley.com to secure connections to NextCloud. I used Let’s Encrypt with the client called certbot, and a minimal default Nginx configuration to get things rolling.
Add jessie-backports and install certbot:
echo "deb http://ftp.debian.org/debian jessie-backports main" |sudo tee /etc/apt/sources.list.d/jessie-backports.list
sudo apt-get update
sudo apt-get install -t jessie-backports -y certbot
I enabled a minimal Nginx configuration that works with the certbot webroot strategy:
wget -O /etc/nginx/sites-available/letsencrypt-bootstrap https://github.com/fawkesley/nextcloud-config-files/raw/master/etc/nginx/sites-available/letsencrypt-bootstrap
sudo ln -s /etc/nginx/sites-available/letsencrypt-bootstrap /etc/nginx/sites-enabled/letsencrypt-bootstrap
sudo service nginx reload
I ran certbot in dry-run mode:
sudo mkdir -p /etc/letsencrypt/fake-webroot
sudo certbot --dry-run certonly --webroot -w /etc/letsencrypt/fake-webroot -d cloud.paulfurley.com
… that worked, so I ran it again without --dry-run and got a new certificate located at:
/etc/letsencrypt/live/cloud.paulfurley.com/*.pem
Then I disabled the Nginx configuration (we’ll handle renewals later):
sudo rm /etc/nginx/sites-enabled/letsencrypt-bootstrap
sudo service nginx reload
Install and Configure PHP 7.0 and modules
I wanted to use the modern PHP 7.0, but jessie only had version 5.6.
I added the stretch distribution to apt:
echo "deb http://mirrordirector.raspbian.org/raspbian/ stretch main contrib non-free rpi" | sudo tee > /etc/apt/sources.list.d/stretch.list
… but in order to prevent everything upgrading to (less stable) stretch packages, I pinned everything to jessie by adding this to /etc/apt/preferences.d/pin-to-jessie.pref:
Package: *
Pin: release n=jessie
Pin-Priority: 600
Then updated the cache:
sudo apt-get update
I installed the PHP prerequisites from the installation manual (note the use of -t stretch)
sudo apt-get install -t stretch php7.0-cli php7.0-gd php7.0-xml php7.0-mbstring php7.0-zip php7.0-pgsql php7.0-curl php7.0-bz2 php7.0-intl php7.0-mcrypt php7.0-fpm
Note: there were some other, optional(?) packages that I didn’t install.
Configure PHP-FPM environment variables
I don’t know why this is necessary, but the manual said to do it.
Uncomment the environment variables lines in /etc/php/7.0/fpm/pool.d/www.conf, as per the Nextcloud docs
env[HOSTNAME] = $HOSTNAME
env[PATH] = /usr/local/bin:/usr/bin:/bin
env[TMP] = /tmp
env[TMPDIR] = /tmp
env[TEMP] = /tmp
Install and Configure PostgreSQL Database
I installed PostgreSQL 9.6:
sudo apt-get install -t jessie postgresql-9.6
And created a database and user:
sudo su - postgres
createdb nextcloud

PASSWORD=$(openssl rand -base64 15)
echo "PASSWORD: $PASSWORD"

echo "CREATE USER nextcloud WITH PASSWORD '${PASSWORD}';" | psql nextcloud
echo "GRANT ALL PRIVILEGES ON DATABASE \"nextcloud\" TO nextcloud;" | psql nextcloud
Keep a note of this database password! You’ll need to configure Nextcloud with it.
Download and Verify NextCloud
I downloaded the latest Nextcloud server, version 10.0.1:
cd /tmps
wget 'https://download.nextcloud.com/server/releases/nextcloud-10.0.1.zip'
Verify its PGP signature
I got the signing PGP key and the checksums file and verified the install:
wget https://download.nextcloud.com/server/releases/nextcloud-10.0.1.zip.asc
wget https://nextcloud.com/nextcloud.asc
gpg --import nextcloud.asc
gpg --verify nextcloud-10.0.1.zip.asc nextcloud-10.0.1.zip
I saw:
gpg: Good signature from "Nextcloud Security <security@nextcloud.com>"
(And also a warning that the key is not certified with a trusted signature. That means I haven’t independently verified that the signing key I downloaded, nextcloud.asc, is actually Nextcloud’s key - it could have been replaced with a bad one. As a half-measure I Googled the key fingerprint 2880 6A87 8AE4 23A2 8372 792E D758 99B9 A724 937A and saw it listed on many sites, giving it at least some credibility.)
Install NextCloud into Nginx webroot
cd /tmp
unzip nextcloud-10.0.1.zip
sudo mv /tmp/nextcloud /var/www/html
sudo chown -R root /var/www/html/nextcloud
sudo chgrp -R www-data /var/www/html/nextcloud
I generated a 4096 (large) Diffie-Hellman parameter to use with SSL. I did it on my fast laptop and transferred it to the pi, lest I’d been there all day:
sudo openssl dhparam -out /tmp/dhparam.pem 4096
scp /tmp/dhparam.pem pi-loft-2:~/etc/nginx/ssl/dhparam.pem 4096
I installed and enabled a nextcloud Nginx configuration file:
If you’re still waiting for the Diffie Hellman parameters file to be generated, you can temporarily comment out the line starting ssl_dhparam and it’ll start without that.
wget -O /etc/nginx/sites-available/nextcloud https://github.com/fawkesley/nextcloud-config-files/raw/master/etc/nginx/sites-available/nextcloud
sudo ln -s /etc/nginx/sites-available/nextcloud /etc/nginx/sites-enabled/nextcloud
sudo service nginx restart
sudo service php7.0-fpm restart
Configure Nextcloud
I added cloud.paulfurley.com to the trusted_domains setting in /var/www/nextcloud/config/config.php:
  array (
    0 => '192.168.0.191',
    1 => 'cloud.paulfurley.com',
  ),
And fixed overwrite.cli.url:
'overwrite.cli.url' => 'https://cloud.paulfurley.com/nextcloud',
And specified logging to syslog, rather than a separate file:
'log_type' => 'syslog',
I gave Nextcloud (or specifically, the www-data user) permission to write its own configuration:
sudo chmod -R 750 /var/www/nextcloud/{config,apps}
Note: I initially didn’t allow this, but ran into problems where the server would return HTTP 503 for WebDAV requests. Making the config writeable fixed this. Hmm.
I made the Nextcloud data directory on the external hard drive:
sudo mkdir /media/externalhd/nextcloud
sudo chown www-data /media/externalhd/nextcloud
Use Nextcloud’s own configuration screen
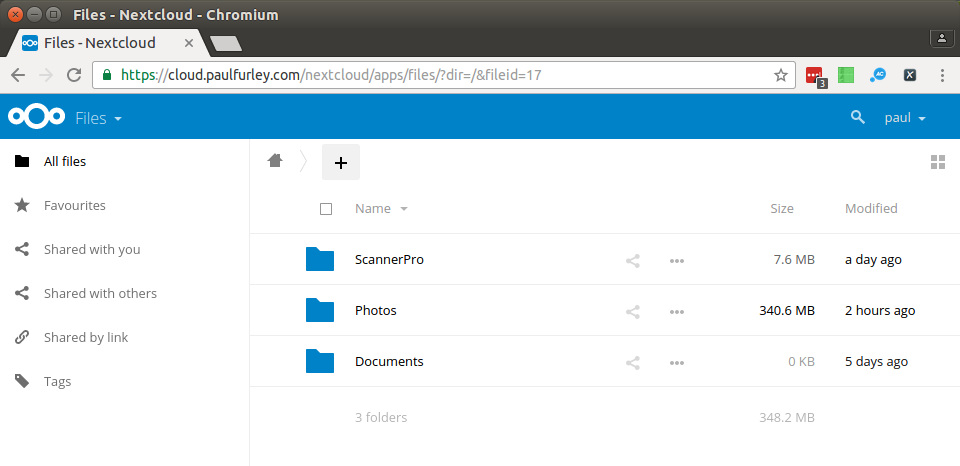
I visited https:/cloud.paulfurley.com/nextcloud/ and created an admin user. I entered the PostgreSQL database name, user and password, and was away.
I then used Nextcloud to create a normal (non-admin) user. I will keep the admin user for special occasions.
Configure outbound email with sSMTP
I wanted the server to be able to email me with alerts and stuff. I configured
[mailgun][mailgun] for cloud.paulfurley.com and used sSMTP to relay emails
through it:
sudo apt-get install ssmtp mailutils
And add some config files:
wget -O /etc/ssmtp/ssmtp.conf https://github.com/fawkesley/nextcloud-config-files/raw/master/etc/ssmtp/ssmtp.conf
wget -O /etc/ssmtp/ssmtp.conf https://github.com/fawkesley/nextcloud-config-files/raw/master/etc/ssmtp/ssmtp.conf
Then edit both files with your own domain and API key.
Configure fail2ban
fail2ban works by parsing log files for authentication failure messages. When it sees repeated failures, it takes some action. Typically that involves adding a firewall rule to block the offending IP address.
With nextcloud configured to log to syslog, a failed authentication looks like this:
Dec 7 17:57:09 pi-loft-2 ownCloud[31042]: {core} Login failed: 'paul' (Remote IP: '31.105.224.167')
I wrote a filter to scan syslog for login failure messages.
wget -O /etc/fail2ban/filter.d/nextcloud.conf https://github.com/fawkesley/nextcloud-config-files/raw/master/etc/fail2ban/filter.d/nextcloud.conf
I adapted an action to parse the log file and whois information for the offending IP and send me that by email:
wget -O /etc/fail2ban/action.d/mail-whois-lines-paulfurley.conf https://github.com/fawkesley/nextcloud-config-files/raw/master/etc/fail2ban/action.d/mail-whois-lines-paulfurley.conf
I created a jail to activate the filter:
wget -O /etc/fail2ban/jail.d/nextcloud.conf https://github.com/fawkesley/nextcloud-config-files/raw/master/etc/fail2ban/jail.d/nextcloud.conf
Don’t forget to edit these with your own details.
Test the fail2ban jail
From a remote server, I hit a few different endpoints with bad credentials:
$ curl --user paul:badpassword https://cloud.paulfurley.com/nextcloud/index.php
$ curl --user paul:badpassword https://cloud.paulfurley.com/nextcloud/remote.php/dav/files/paul
<?xml version="1.0" encoding="utf-8"?>
<d:error xmlns:d="DAV:" xmlns:s="http://sabredav.org/ns">
  <s:exception>Sabre\DAV\Exception\NotAuthenticated</s:exception>
  <s:message>Username or password was incorrect, Username or password was incorrect</s:message>
</d:error>
While watching the logs:
tail -f /var/log/fail2ban.log /var/log/syslog
Happily, this appeared in the logs, and my remote server could no longer talk to cloud.paulfurley.com at all:
Dec  8 14:04:44 pi-loft-2 ownCloud[10257]: {core} Login failed: 'paul' (Remote IP: '46.101.3.6')
Dec  8 14:05:15 pi-loft-2 ownCloud[31042]: {core} Login failed: 'paul' (Remote IP: '46.101.3.6')
Dec  8 14:05:46 pi-loft-2 ownCloud[11301]: {core} Login failed: 'paul' (Remote IP: '46.101.3.6')

==> /var/log/fail2ban.log <==
2016-12-08 14:05:47,189 fail2ban.actions[11783]: WARNING [nextcloud] Ban 46.101.3.6

==> /var/log/syslog <==
Dec  8 14:05:47 pi-loft-2 sSMTP[12087]: Creating SSL connection to host
Dec  8 14:05:47 pi-loft-2 sSMTP[12087]: SSL connection using RSA_AES_128_CBC_SHA1
Dec  8 14:05:49 pi-loft-2 sSMTP[12087]: Sent mail for postmaster@cloud.paulfurley.com (221 See you later. Yours truly, Mailgun) uid=0 username=root outbytes=6178
Shortly after, I received an email - it’s working!
Subject: [Fail2Ban] default: banned 46.101.3.6 from
  pi-loft-2
To: <cloud-notify@paulfurley.com>

Hi,

The IP 46.101.3.6 has just been banned by Fail2Ban after
3 attempts against default.


Here is more information about 46.101.3.6:

...
You can look at the status of a jail with fail2ban-client:
$ fail2ban-client status nextcloud
Status for the jail: nextcloud
|- filter
|  |- File list:        /var/log/syslog
|  |- Currently failed: 1
|  `- Total failed:     17
`- action
   |- Currently banned: 1
   |  `- IP list:       46.101.3.6
   `- Total banned:     1
And unban clients too:
fail2ban-client set nextcloud unbanip 46.101.3.6
Install Nextcloud iPhone App
I downloaded the iPhone Nextcloud app and logged in using the URL https://cloud.paulfurley.com/nextcloud and the username and password of my new, normal user.
Install Scanner Pro iPhone App
I configured a new “cloud” service of the type WebDAV in Scanner Pro. I used the following URL with the username and password of my new user:
https://cloud.paulfurley.com/nextcloud/remote.php/dav/paul/
Future Improvements
That was a good minimum viable config, but I’ve still got some things that need improving:
- Try and move authentication to Nginx (before hitting Nextcloud’s PHP) if possible and investigate TLS client certificates.
- Configure automatic certificate renewal with Let’s Encrypt.
- Improve SSL score (currently B due to weak Diffie Hillman parameters, see SSL Labs analysis)
- Set up more log monitoring & intrusion detection.
- Move postgresql database from the SD card to the external hard drive.
- Automatically backup configuration.
- Automatically backup everything (incrementally) to another, offsite server.