Replacing our front door
I finally got around to replacing our draughty, single glazed front door. It was a big job but it was fun and satisfying to do myself.
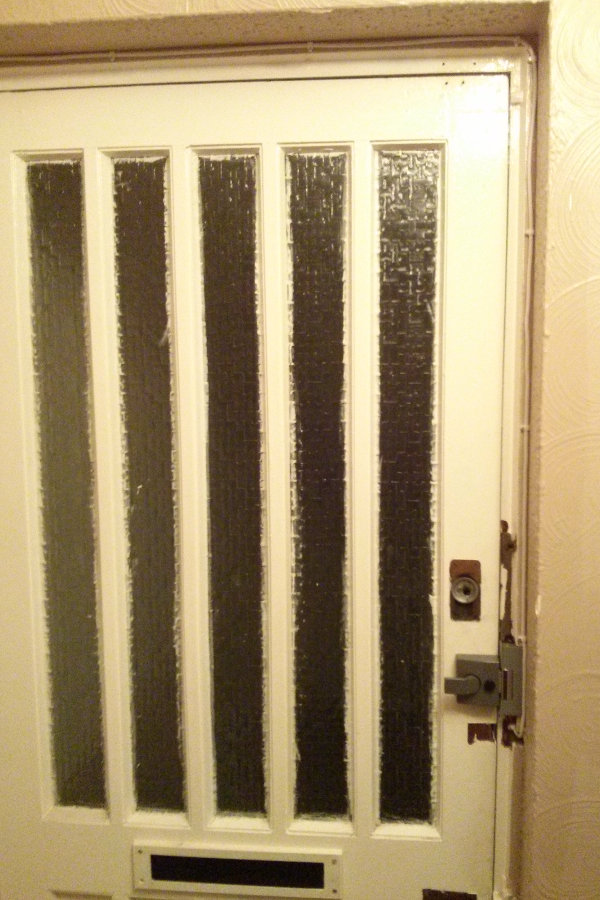
The old door
It was full of holes, a horrif plastic letterbox and single glazed panels. Worst of all, the glass had been carelessly painted without masking, making a total mess.
Picking a new door
I wanted to keep the existing frame for two reasons:
- I felt confident that I could do it myself. I didn’t feel I could replace the whole thing.
- We’ve got an electric door strike (opener) and cabling built into the frame and plasterwork that I didn’t want to disturb.
We wanted an oak door that’s both energy efficient and allows plenty of light.
What U-value?
I wasn’t sure what U-value we should be aiming for and most companies didn’t quote a U-value for their doors.
I got thoroughly confused by Building Regulations. I think I learned that they currently dictate a maximum U value of 1.8 W/m²K for doors installed into existing dewellings. But that doesn’t apply to doors fitted into existing frames. Consequently, most replacement doors available at standard stores like B&Q don’t even quote a U-value and are presumably terribly inefficient.
We ultimately settled on a door called Winchester Glazed 1L I think we learned that it had a U-value of 1.8 W/m²K but I subsequently can’t find that figure anywhere.
Note: After installing the door we had a whole-house retrofit assessment that recommended a performance target of 0.9 W/m²K for all doors and windows. It would have been very helpful to have the assessment before picking a door!
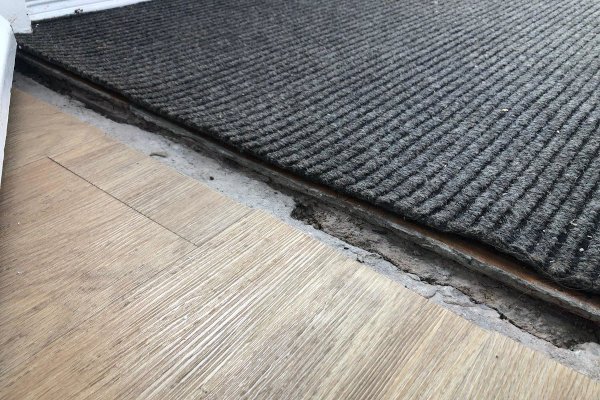
Fixing the threshold
The existing door had a clear gap underneath and an unpleasant metal threshold. I wanted a threshold that seal against the bottom of the new door.
I removed the threshold and surveyed the layers of tiles, brick and concrete below.
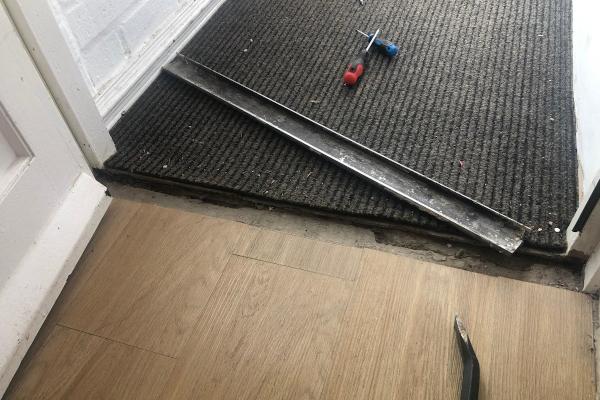
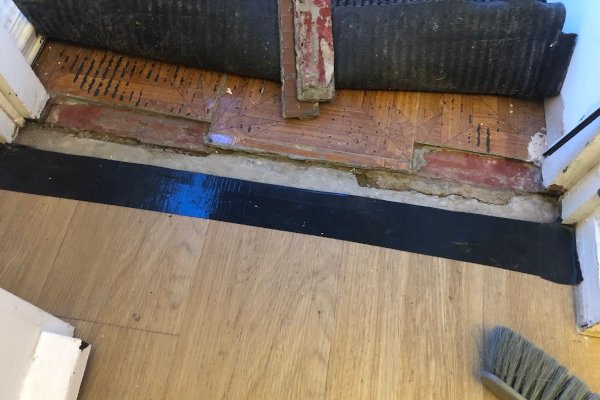
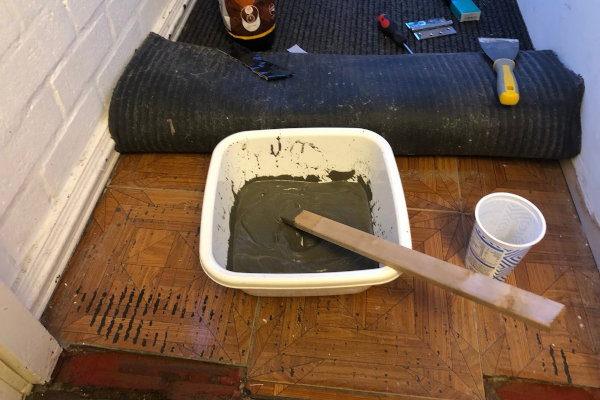
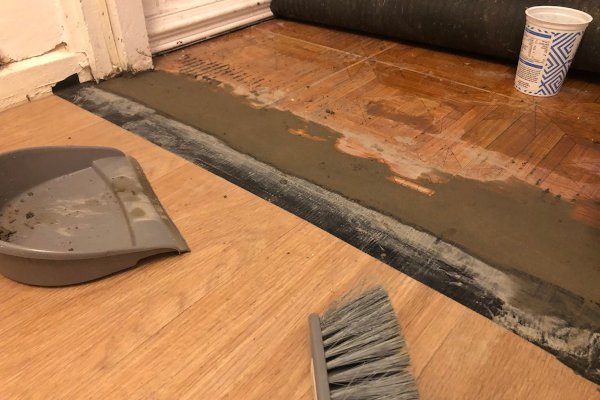
Fortunately the floor level inside the house and in the porch was exactly the same. I decided to knock out a few tiles and make a smooth new surface with some cement.
I bought a Stormguard CDX Compression Draught Excluder. It has rubber insert that slightly compresses against the bottom of the door.
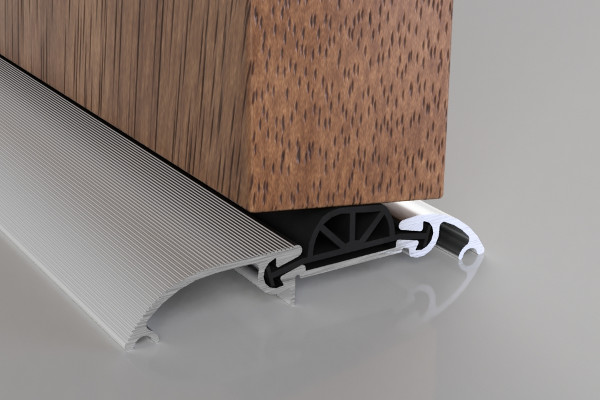 Image from stormguard.co.uk
Here’s the new threshold installed and looking much neater than the old one. A bonus is that it’s much easier to drive the pushchair over!

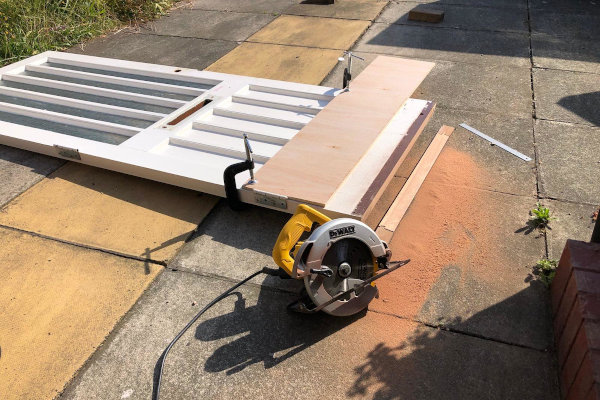
Cutting the door
To achieve a draught-proof seal, I had to cut the bottom of the door to an 8° angle:
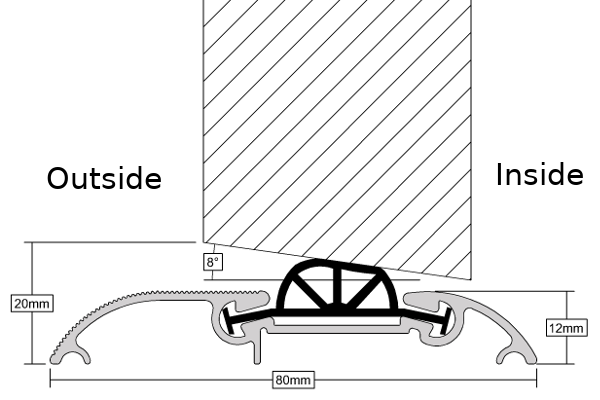 Image from stormguard.co.uk
Cutting the door was a bit scary. If I’d cut it too short it wouldn’t reach the threshold and would be ruined. Too long and it could be difficult to re-cut.
So I used the old door to practise. I set up the saw with a roughly 8° angle and cut the old door. I re-fitted the door onto the frame and, somehow, got a perfect fit first time.
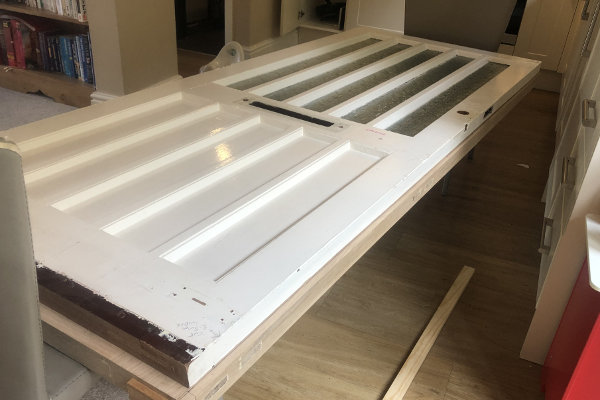
Then I was able to use the old door as a template to cut the new door.
Marking out where to cut the new door:
Installing hinges and locks
I learned a lot about chiselling! Oak is lovely to work with, it cuts very smoothly.
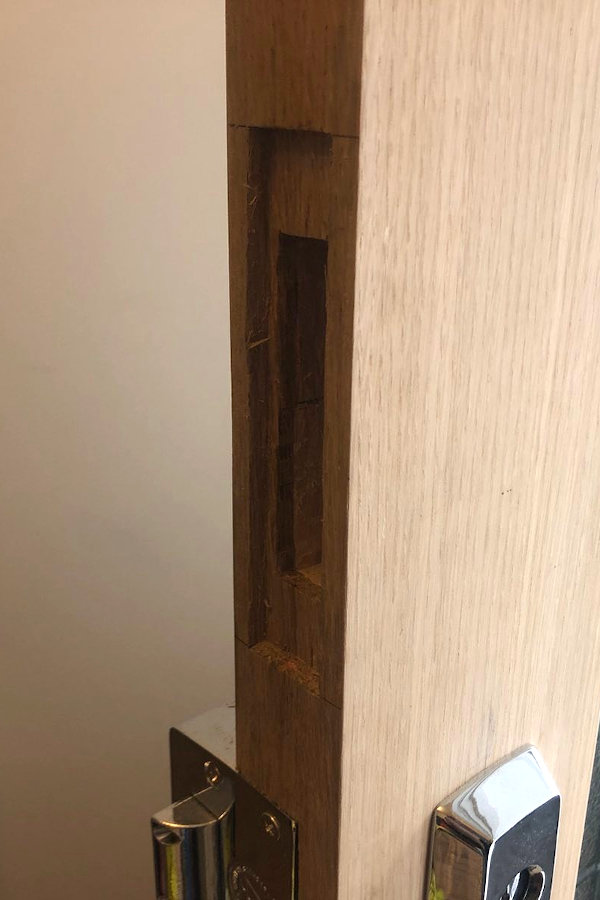
I spent many hours chiselling the cut outs for:
- 3 sets of hinges
- the main bolt
- the deadbolt
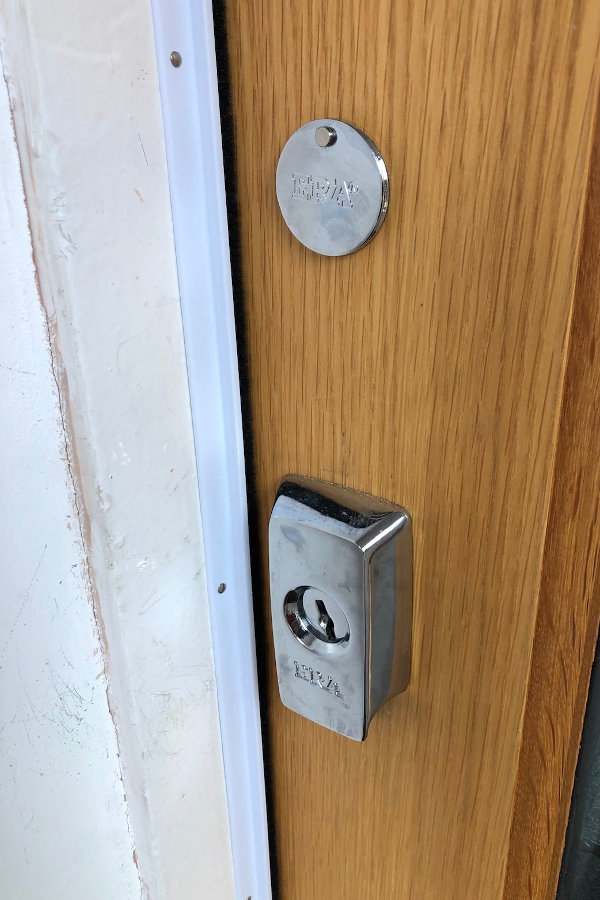
- two night latches
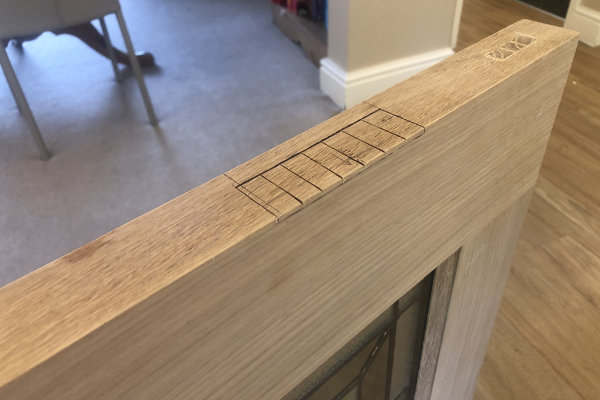
Again, I used the old door as a template. Transferring the hinge positions:
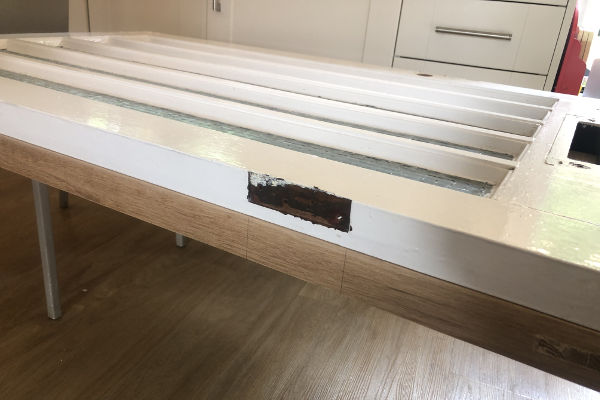
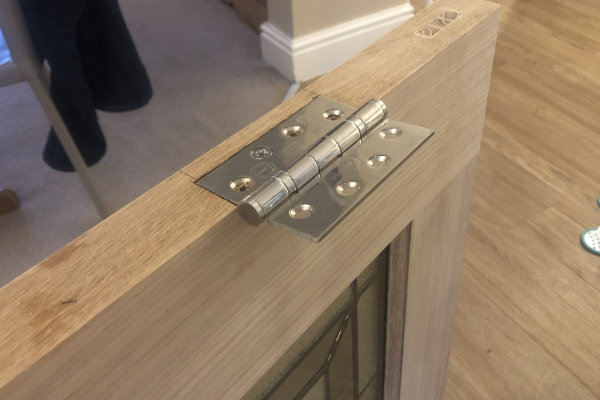
Chiselling out the hinges:
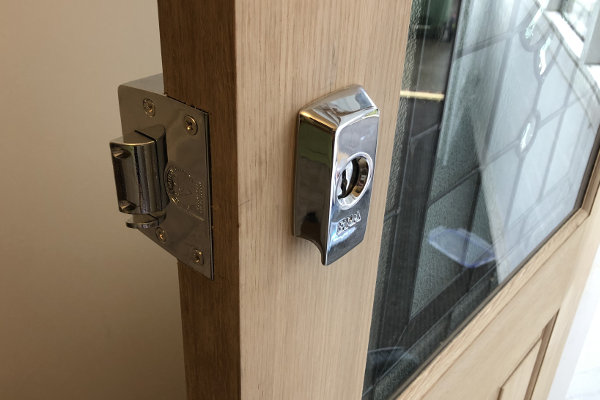
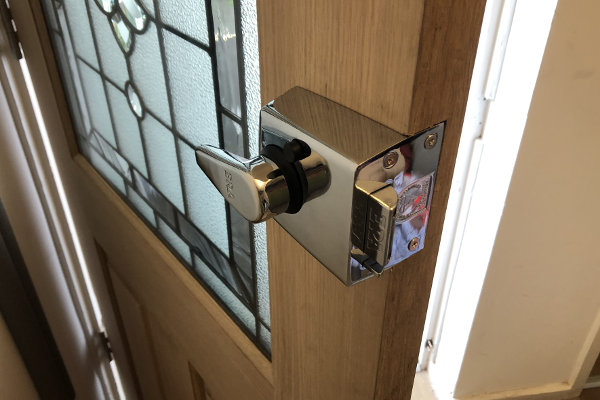
New door strike fully installed:
Drilling and chiselling another hole for a deadbolt:
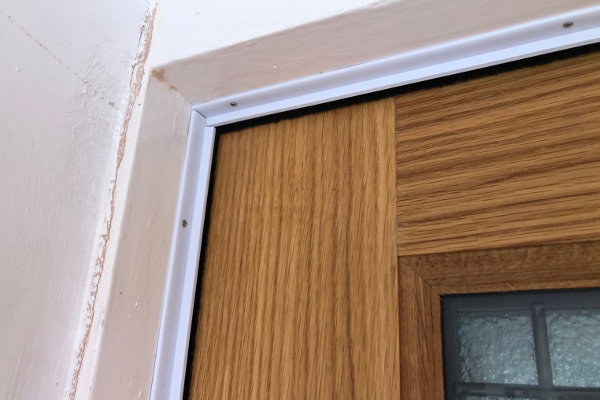
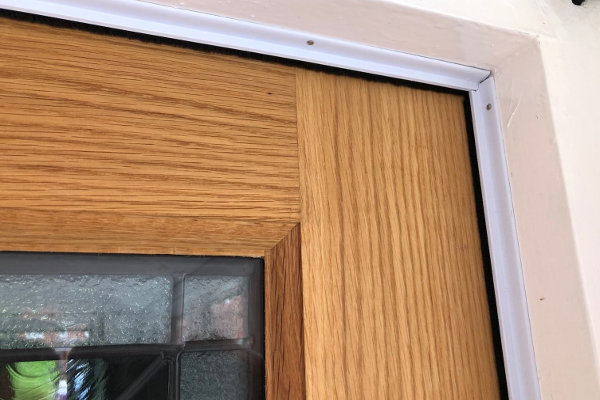
Draught-proofing the frame
I carefully cut Stormguard brush strips and installed them around the sides and top of the door. The brushes just touch the door when it’s shut, enough to prevent any wind.
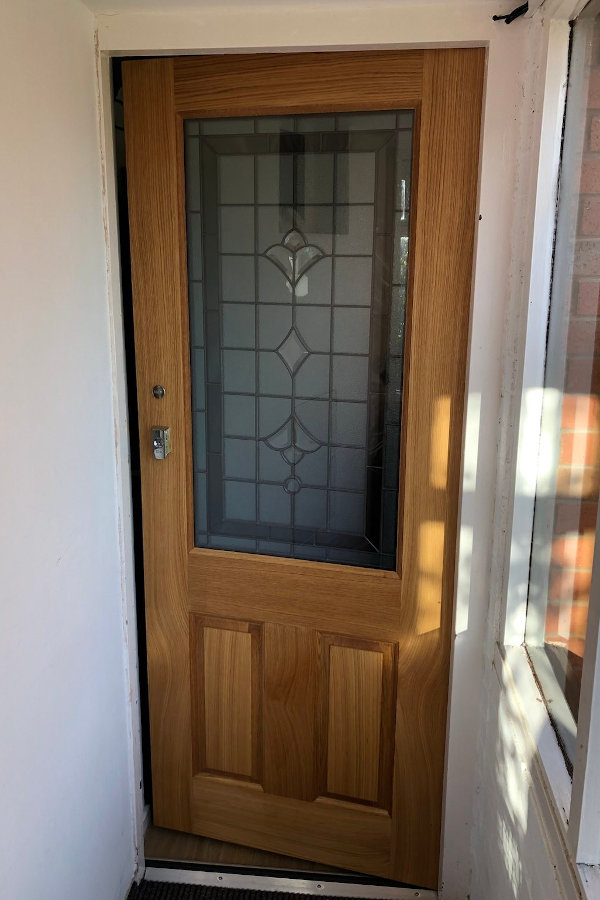
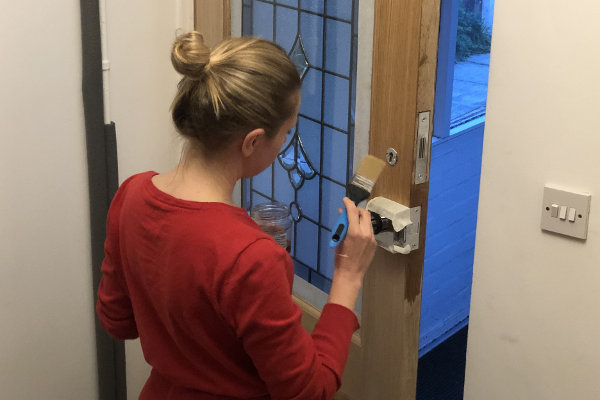
Applying Danish oil
We like the look of oak so didn’t want to paint it. But it needs protecting, so we masked up all the metalwork and applied Danish oil. It brought out the grain of the wood wonderfully.
And here’s the end result!